Formation Constructible Tekla

Tekla Structures : Avancé, Composants personnalisés
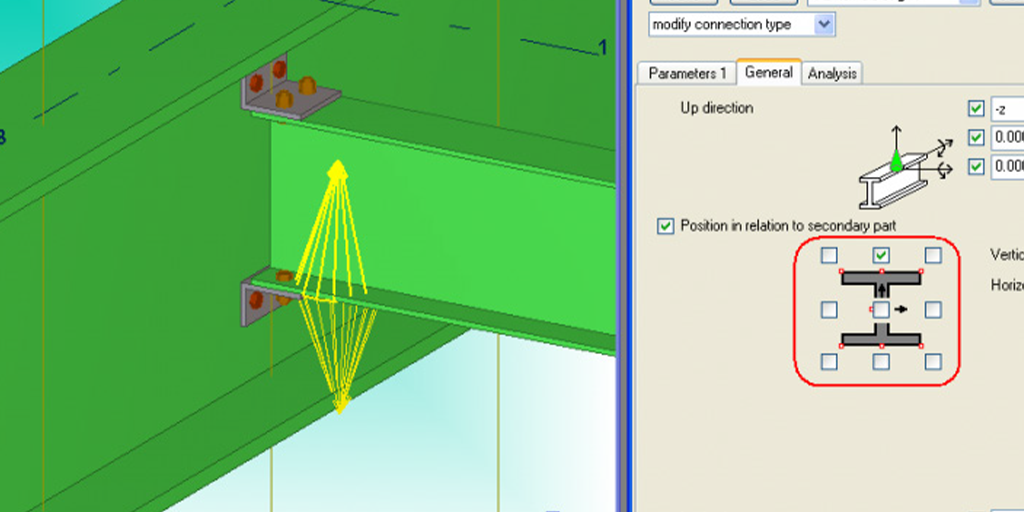
Ce cours de formation fournit aux utilisateurs expérimentés de Tekla Structures les connaissances et les outils nécessaires pour progresser vers les étapes avancées du logiciel. La formation est divisée en leçons, chacune se concentrant sur une certaine fonction du programme et offrant des instructions approfondies visant à aider les utilisateurs à maîtriser chaque fonctionnalité.
Veuillez noter : Selon la version du logiciel que vous utilisez et la manière dont vous avez configuré votre système Windows, vous pourriez remarquer certaines différences dans l’apparence de l’interface pendant cette formation. Pour télécharger la dernière version, visitez le site de téléchargement de Tekla : Téléchargez Tekla Structures.
Dates :
10 septembre – 11 septembre
Investissement
Durée :
8 heures
Prix :
1 100,00 $ par personne
3+ PERSONNES SEULEMENT 1 500 $ PAR COURS
Détails du cours :
Jour 1: 4 heures
Introduction
- Introduction à la formation avancée sur Tekla Structures
- Fichiers d’aide
- Comment utiliser ce matériel de formation
- Attentes visuelles
- Fichiers nécessaires pour compléter ce cours
Notions fondamentales sur les composants personnalisés
- Composant personnalisé
Création de composants personnalisés – Connexions
- Création de composants personnalisés
- Éditeur de composants personnalisés
- Exportation et importation
- Personnalisation
- Travailler avec des connexions personnalisées
- Composants modulaires
- Connexion en « T »
- Contrôle de la forme et l’emplacement des pièces
- Contrôle de la forme des pièces
- Contrôle des chanfreins
- Imbrication de composants de système
Création de composants personnalisés – Détails
- Travailler avec des détails personnalisés
- Détail – pénétration
- Détail – colonne renforcée
- Éditeur de composants personnalisés
Introduction
- About this training
- Why Tekla Structures
- Setting up Tekla Structures
- Trimble Identity
Tekla Structures user interface
- Opening Tekla Structures
- Opening Model
- User interface
- Navigating in the model
- Clip planes
- Hiding parts from view
- Showing only selected parts
- Rendering modes
- Measuring
- Creating screenshots and visualizing the model
- Help and support
Setting up project specific information
- Create and setup the project properties
- Modify existing grid
- Create views
- Snap and selection switches
Model Steel Columns and Beams
- Steel parts in Tekla Structures
- Use property pane to modify part properties
- Create steel framing
- Create floor beams
- Copy and move beams
Model Rafters and Bracings
- Create Rafters
- Create Bracings
- Move objects
- Work planes
About System Components
- Overview about system components
- Components types
- Application and components catalog
- Add components to model
- AutoDefault
Modeling Base Plate
- Add pad footings to the steel structure
- Model base plates
- Modify default properties for components
Modeling Beam to Beam Web Connection
- Model beam to beam web connection
- Measure bolt spacing and edge distance
Modeling Beam to Column Connection
- Model beam to column connection
- Inquire assembly using inquire command in ribbon
- About numbering in Tekla Structures
Modeling two sided connection
- Model two sided end plate using component 142
Modeling Haunch Connection
- Model a haunch connection using component 102
Modeling bracing connections
- Model bracing connections using component 105
- Model flat bar bracing connections using component 11
Detecting Clashes
- Clash checking using the “clash check manager” tool
- Detect clashes of small area in model using the “clash check manager” tool
Jour 2: 4 heures
Création de composants personnalisés – Pièces
- Travailler avec des pièces personnalisées
- Pièce – angle encastré
Création de composants personnalisés – Joints rives
- Travailler avec des joints rives personnalisés
- Joint rive – armature de coin
Personnalisation
- Personnalisation de vignettes pour composants personnalisés
- Boîte de dialogue conviviale par l’entremise de l’éditeur de boîte de dialogue du composant personnalisé
Édition d’un composant personnalisé existant
- Édition d’un composant personnalisé existant –
créateur d’inserts
- Édition d’un composant personnalisé existant –
Model view settings
- View properties
- Visibility of objects
Fixing Clashes
- Create a view along with the rafter
- Use Direct Modification to resolve the clash
- Connections to resolve the clash
About custom components
- What is a custom component
- Custom component types
- Parametric custom components
Creating custom components
- Create a custom component using an existing component
- Create a custom component by combining individual parts
Modifying custom components
- Parametric component behavior
- Bind column to as plate
- Add a thumbnail for a custom component
Importing and exporting custom components
- Export custom components from your model
- Import custom components to your model
Adding web stiffeners
- Add web stiffeners to a beam
- How to modify the component properties
Cuts, Fittings, Splits and Combine
- Cuts and Fittings in Tekla Structures
- Line cut versus Fitting
- Line cut, Part cut and Polygon cut
- Combine and Split parts in Tekla Structures
Bolts, Studs and Holes
- Introduction to Bolts, Studs and Holes in Tekla Structures
- Create Bolts in Tekla Structures
- Create Studs and Holes in Tekla Structures
Other Model Objects – Modeling Aids
- Introduction to Construction Objects
- Construction Objects – Modeling Aids
Welds in Tekla Structures
- Introduction to Welds in Tekla Structures
- Create welds in Tekla Structures
Other Model Objects – Item and Miscellaneous
- Items in Tekla Structures
- Create and import items
- Miscellaneous – Other model objects (Stairs, handrails, ladders, grating)
About numbering in Tekla Structures
- What numbering is
- Plan numbering
- Numbering settings
Numbering models
- Number the model
- Check the number result
